
Workshop log · Woodworking
Building a Faerie Door From Scrap Wood
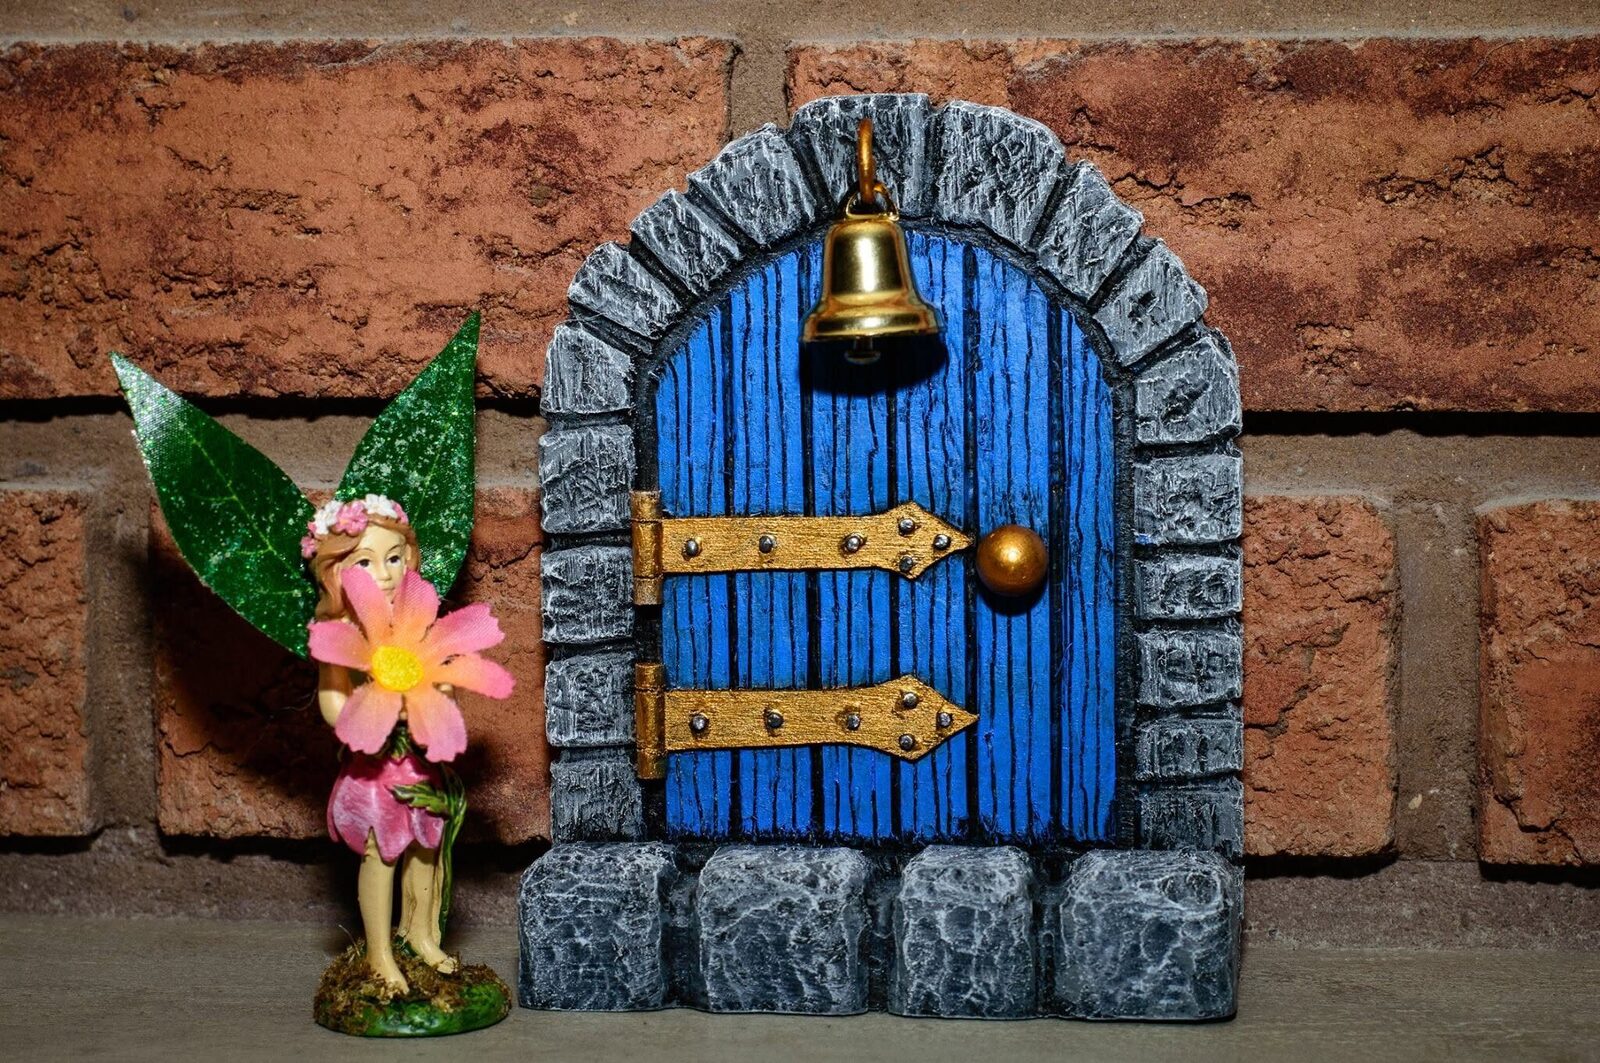
This started with a scrap of plywood, a chunk of 2×4, and the perfectly reasonable urge to install a tiny blue door in a brick wall.
The door is carved into the plywood rather than built from separate planks. The stone surround and base are scrap softwood, hacked about until they looked sufficiently old and lumpy. Tiny basswood hinges, bits of dowel and styrene, a Christmas-decoration bell, and the end of a rock-candy stick supply the hardware. In other words: mostly offcuts, plus several objects that had no idea they were about to become architecture.
Materials and tools
I used:
- a piece of plywood for the door and back;
- a 2×4 offcut for the stone frame and base;
- thin basswood for the hinge straps;
- thin wooden dowel and small styrene rod;
- a screw eye or cup hook, a tiny bell, and something round for the doorknob;
- wood glue and a little general-purpose or cyanoacrylate glue for the small parts;
- black spray primer, inexpensive craft acrylics, and brushes;
- a saw, clamps, pencil, carving knife, and rotary tool with routing, engraving, and carving bits.
Eye protection and a dust mask are not decorative workshop accessories. Clamp the work, keep both hands away from the cutter, and use each tool for the sort of load it was designed to take.
Recess the door
Draw an arched door on the plywood, leaving enough room around it for the stone surround. Remove a shallow layer inside the outline so the face of the door sits slightly below the frame.
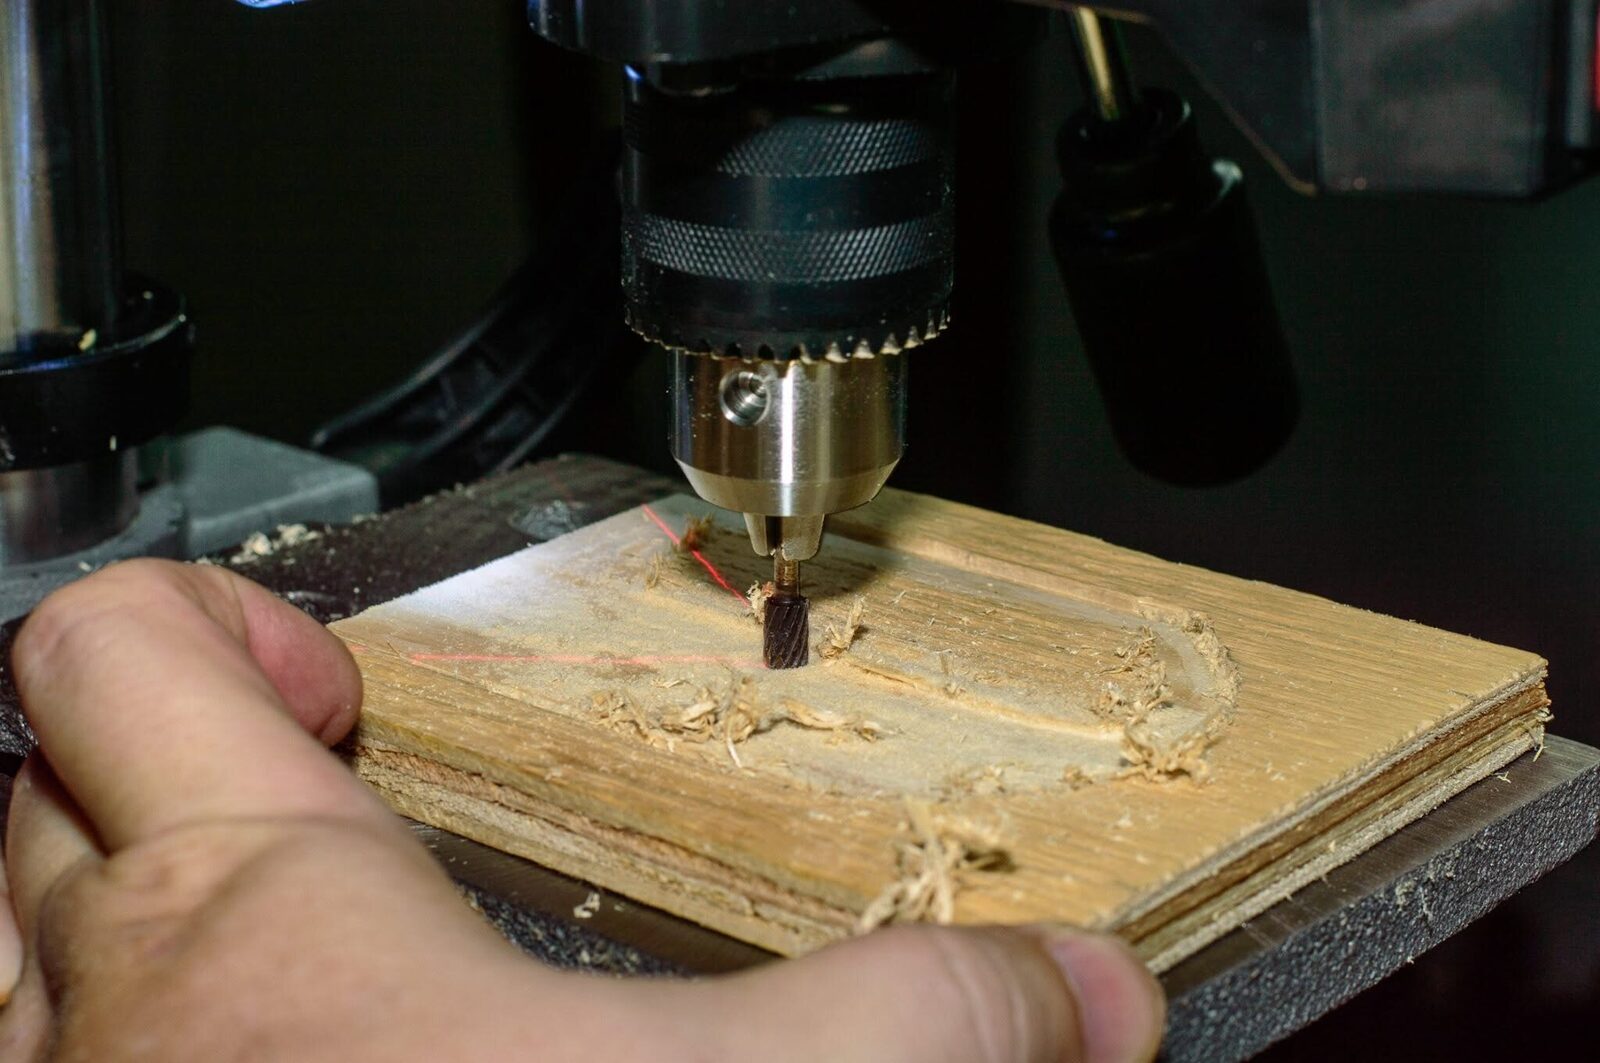
Full confession: I did this with a router-style cutter in my drill press because the work was easy to see. I went slowly and took very shallow passes, but drill presses are built for downward pressure, not sideways routing loads. Don’t copy that part. A router with a suitable jig or a rotary tool in a router base is the proper choice.
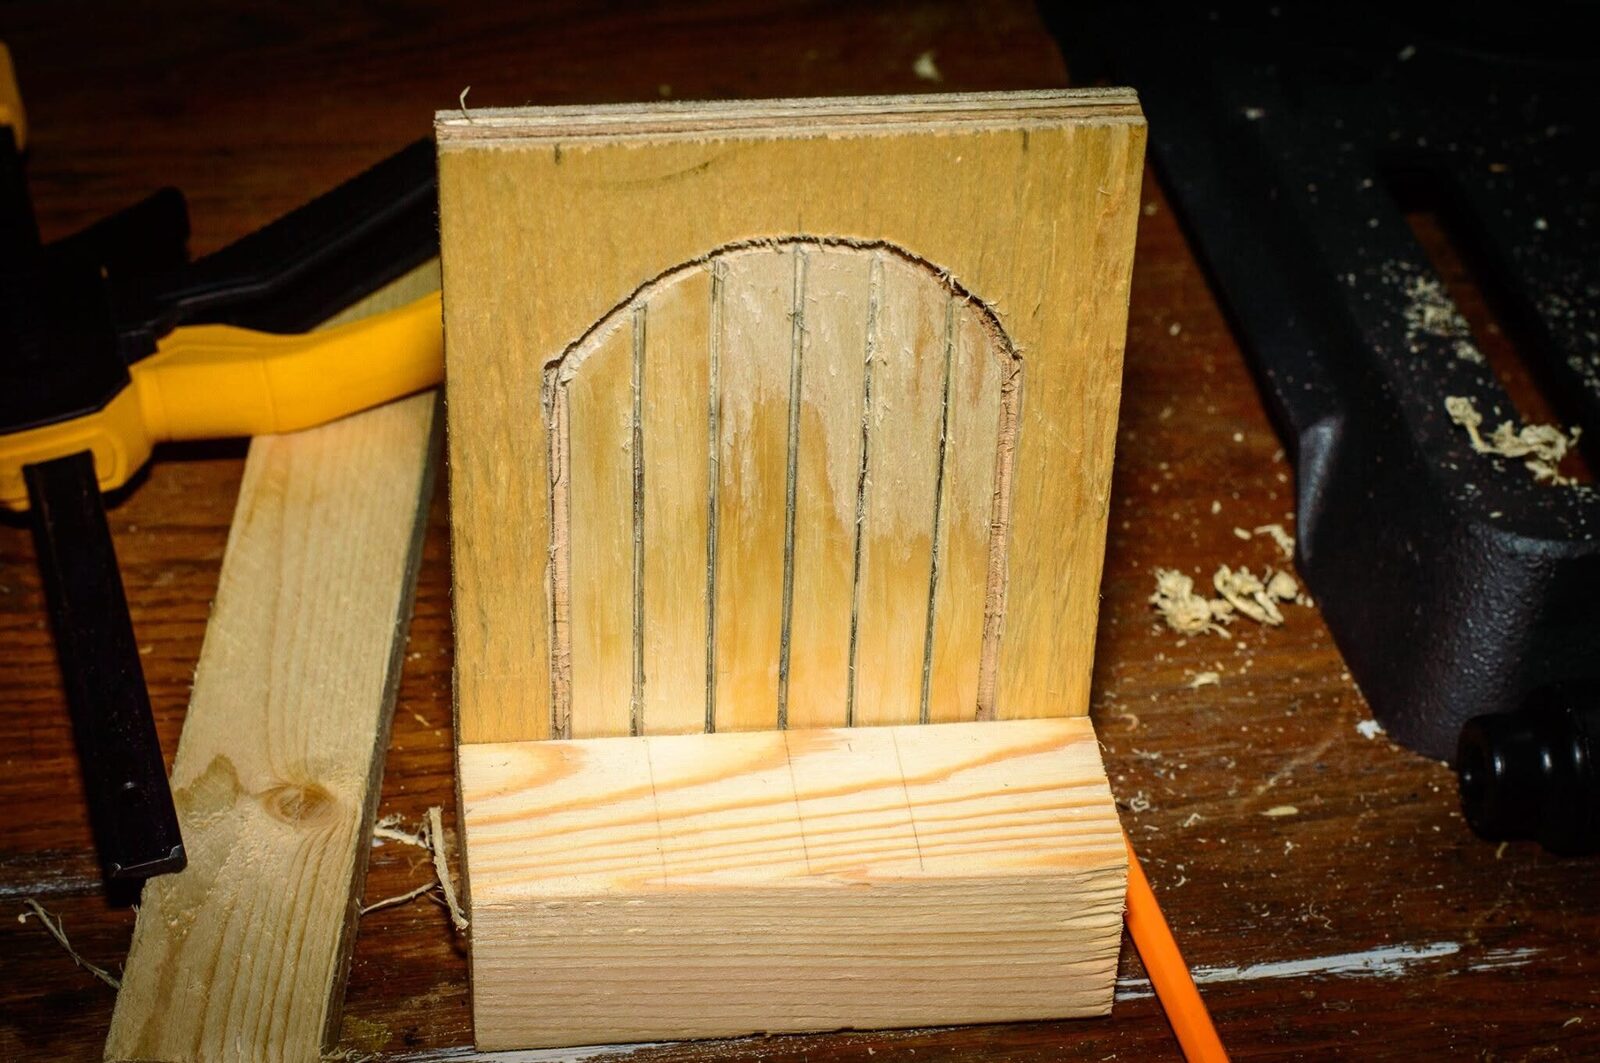
Cut a narrow, slightly deeper groove around the arch. That dark separation is what will keep the recessed door readable after paint. Then score the individual boards into the door with a pointed engraving bit. Let the lines wander a little; a faerie carpenter with a table saw and a moisture meter would ruin the entire effect.
Carve the timber into stone
Cut the 2×4 scrap into pieces for the sill, upright side and curved arch. Make a saw cut at the back of the sill to the depth of the plywood so the door panel can seat into it.
Mark rough blocks before carving. Vary their widths and knock down the edges with a rotary carving bit or knife. Deepen the joints between stones, nick a few corners, and scratch irregular texture into the faces. Real masonry does not look like a packet of identical marshmallows, so resist the urge to make every block behave.
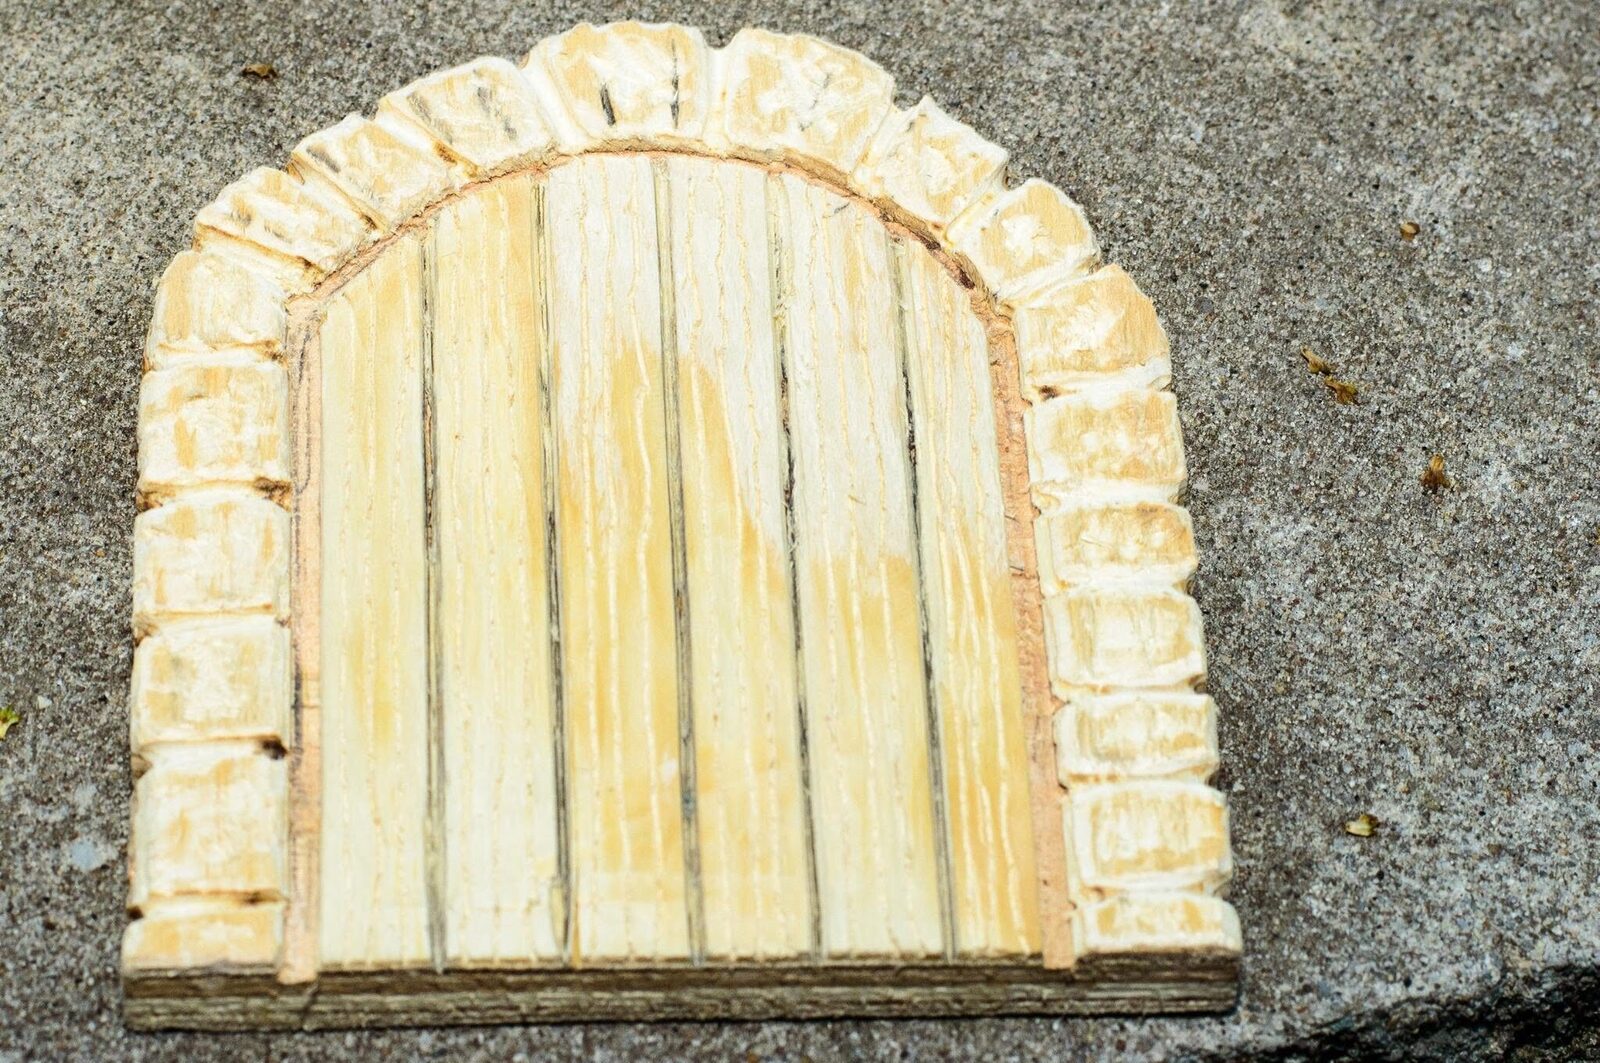
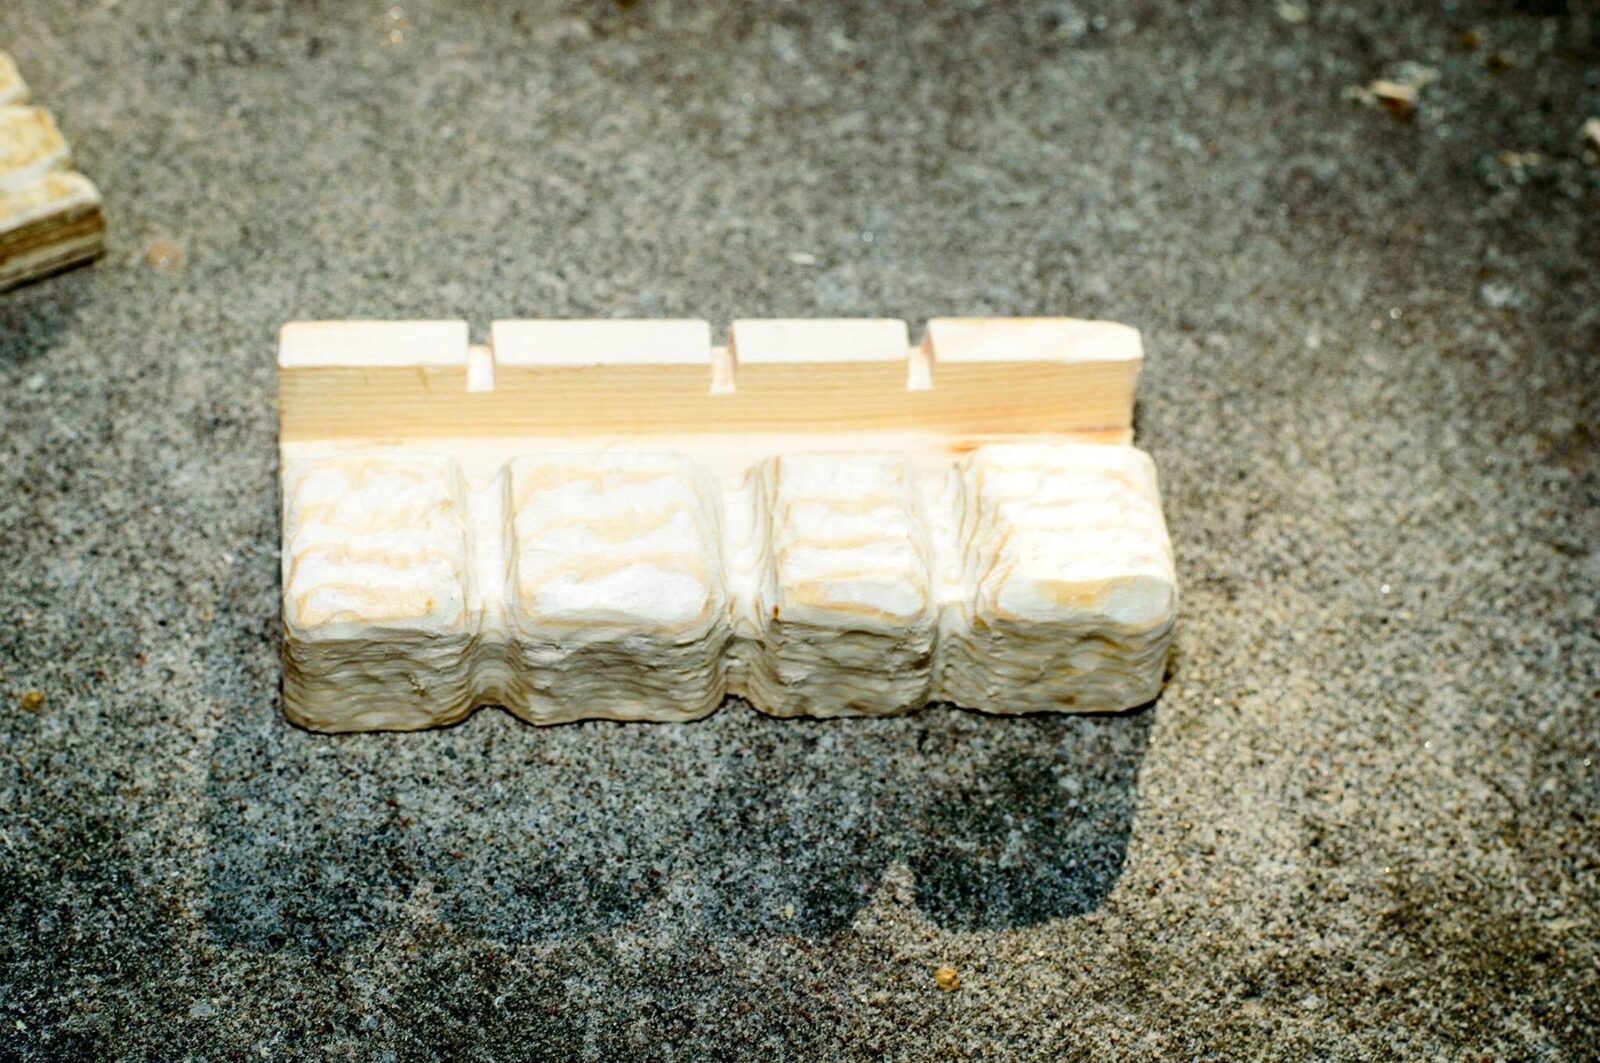
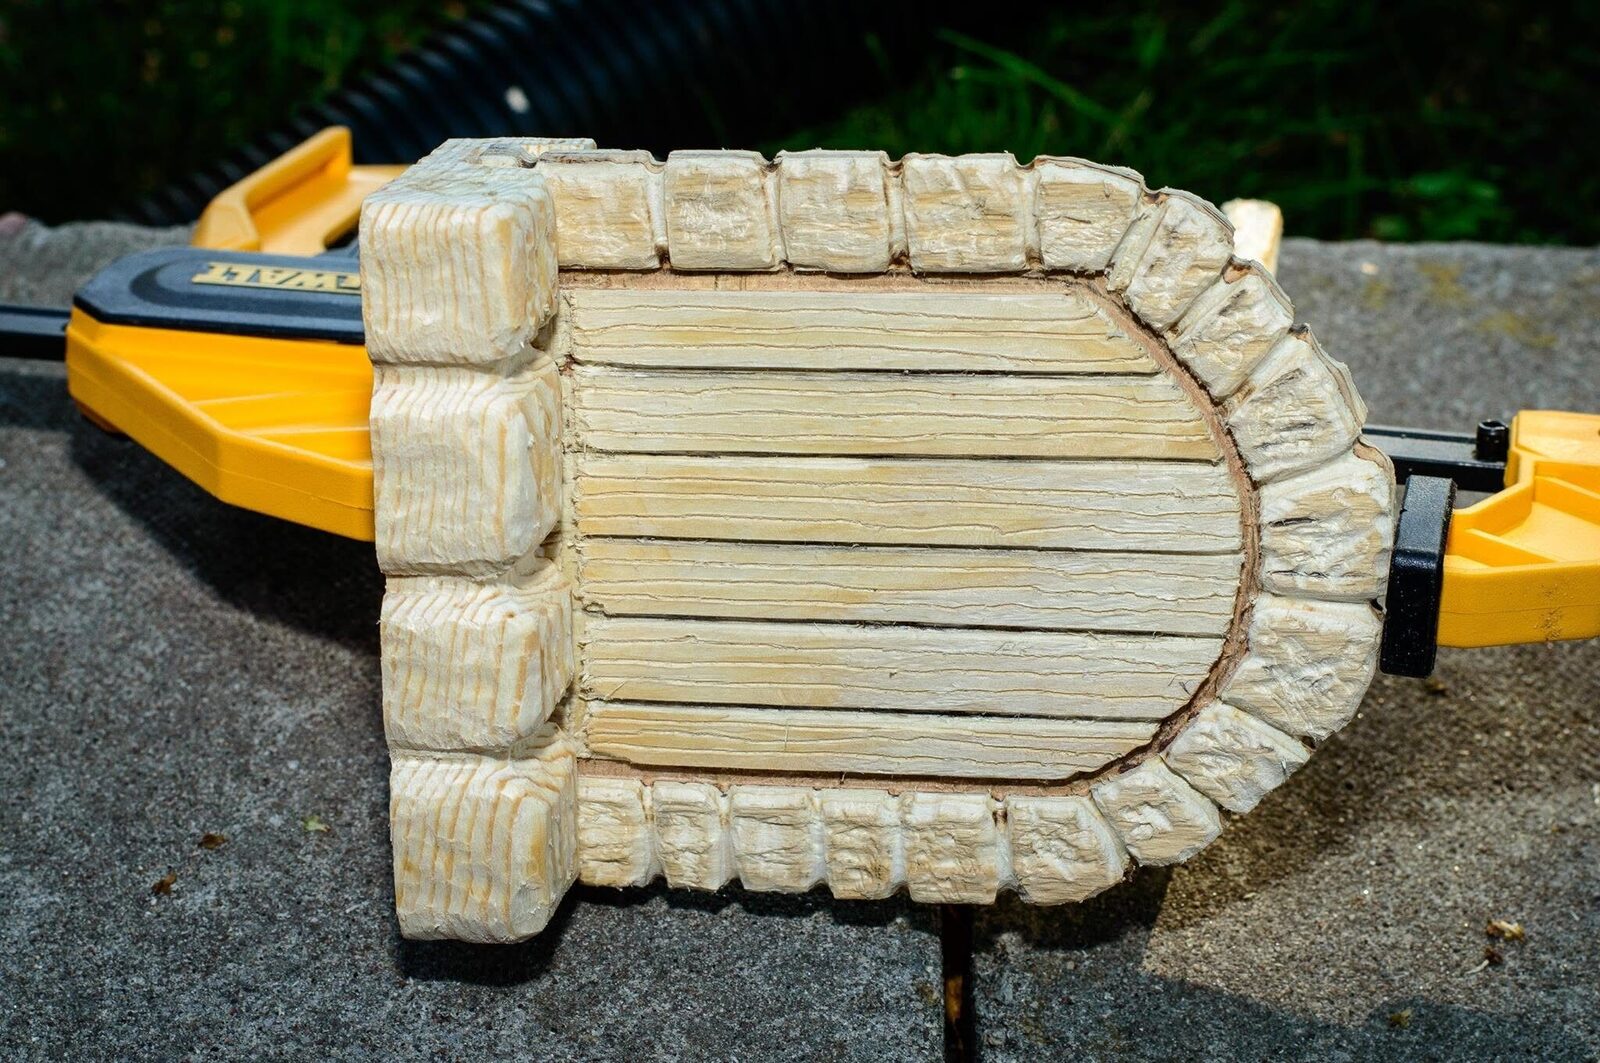
Dry-fit everything before reaching for glue. Check that the plywood sits squarely in the trench and that the arch meets the side and base without any heroic gaps. Mine still had some gaps. They merely became ancient structural character.
Glue the frame around the plywood and clamp it until it is completely dry.
Make hinges from tiny scraps
Draw the hinge straps on thin basswood. I used long tapered straps with a pointed end, which look more convincing at this scale than miniature rectangles. Cut them out with a sharp knife, then shave and sand the edges until the pair looks related. They do not have to be twins.
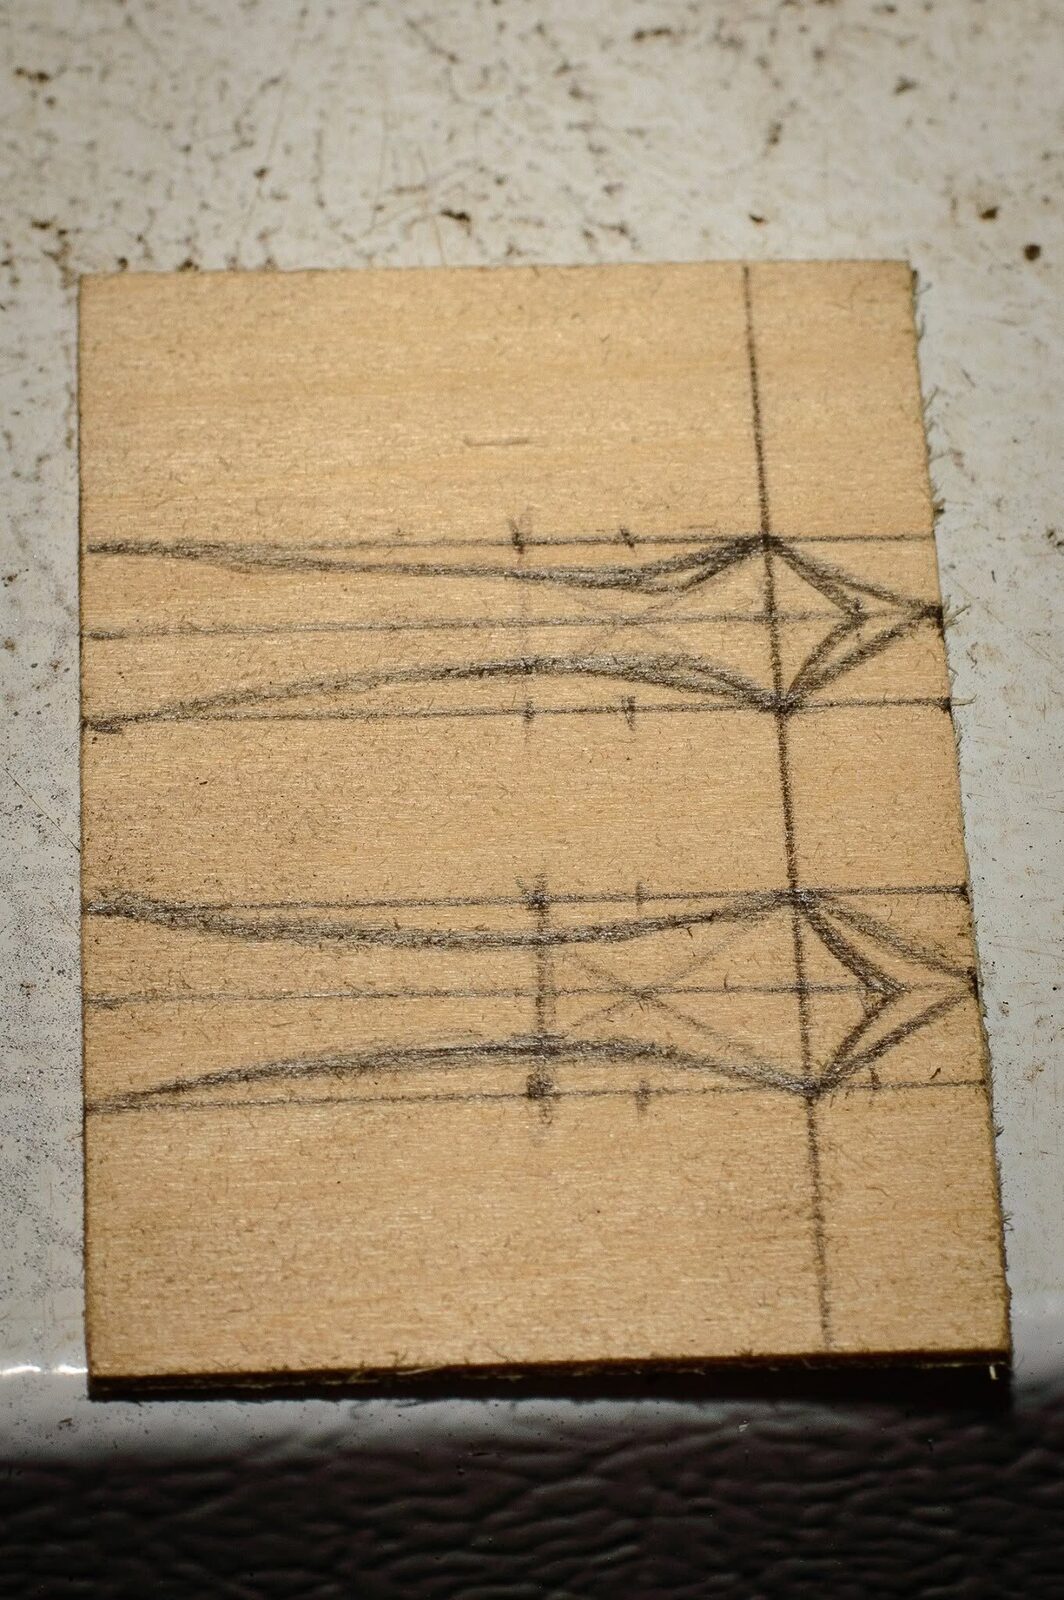
Cut short lengths of thin dowel for the hinge barrels. Score a few rings around the dowel so it reads as hardware instead of a stick glued to another stick. Glue one barrel to the square end of each strap, then add tiny slices of styrene rod as bolt heads.
The bell hangs from a small screw eye above the door. The knob is the rounded end of a rock-candy sucker stick found on the Canadian Tire impulse rack, which is apparently where the faerie building-supply department operates.
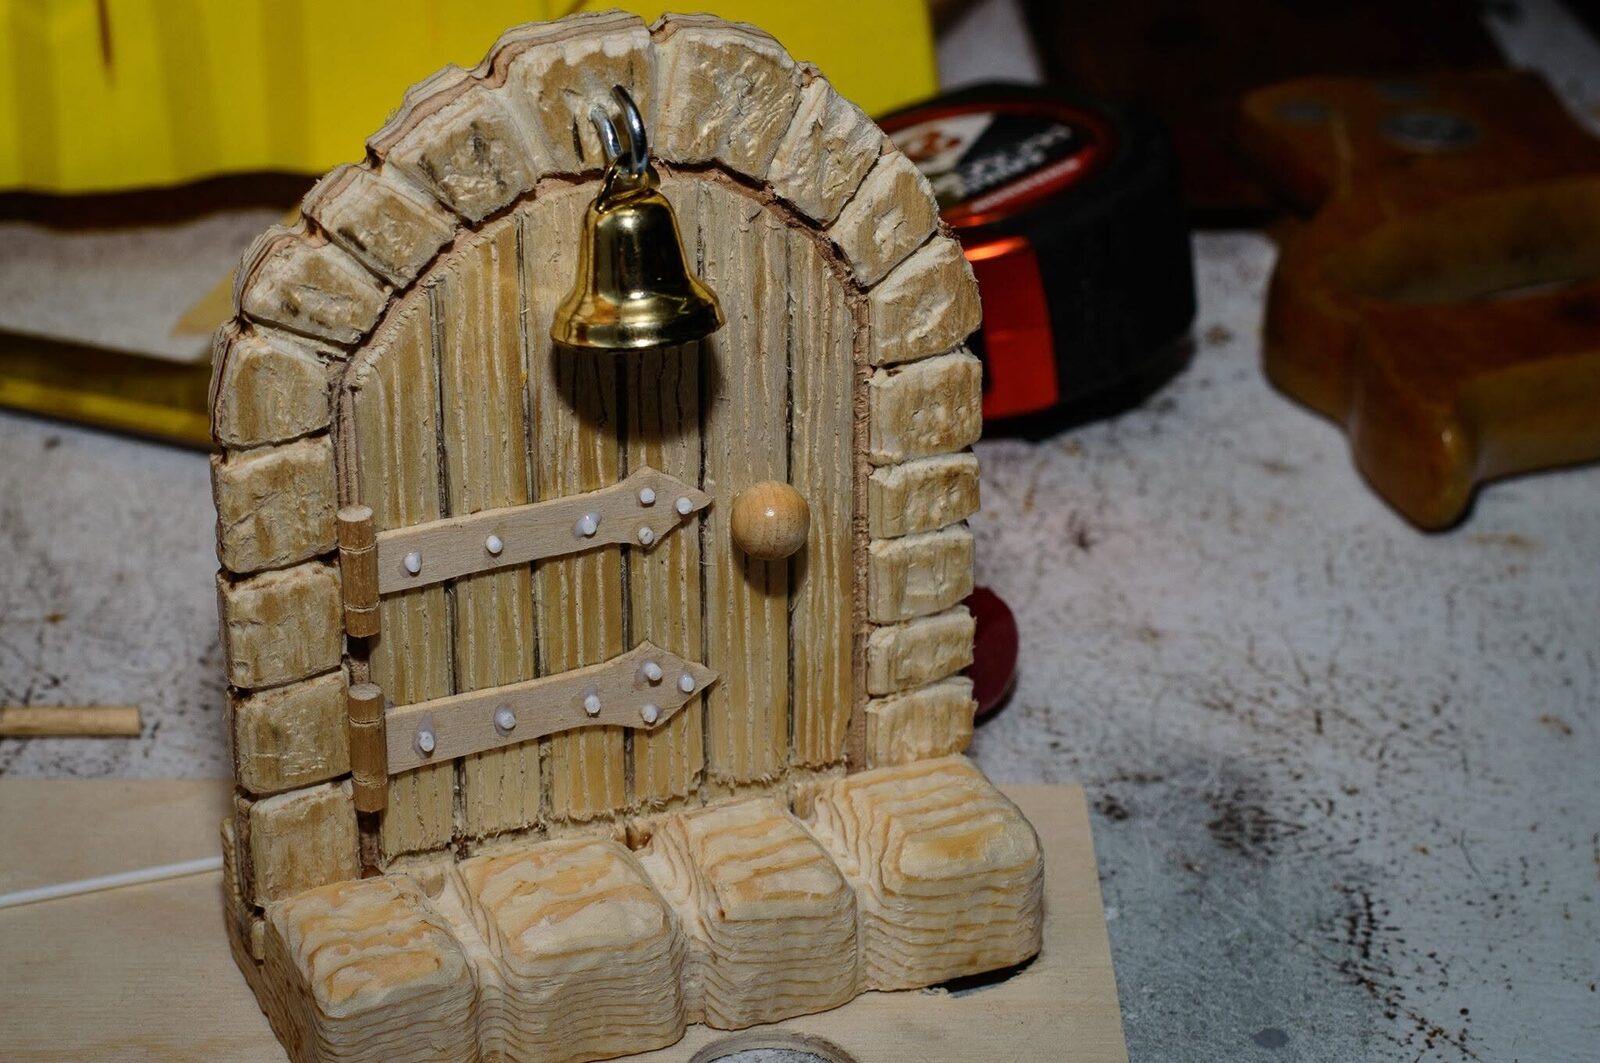
Drill pilot holes before installing the screw eye or any other metal hardware. Small wooden parts split with remarkable enthusiasm.
Prime it black
Once the glue is cured, spray the entire assembly black. Work outdoors or in a properly ventilated spray area and build the coat gradually so you do not fill the carved grain and stone texture.
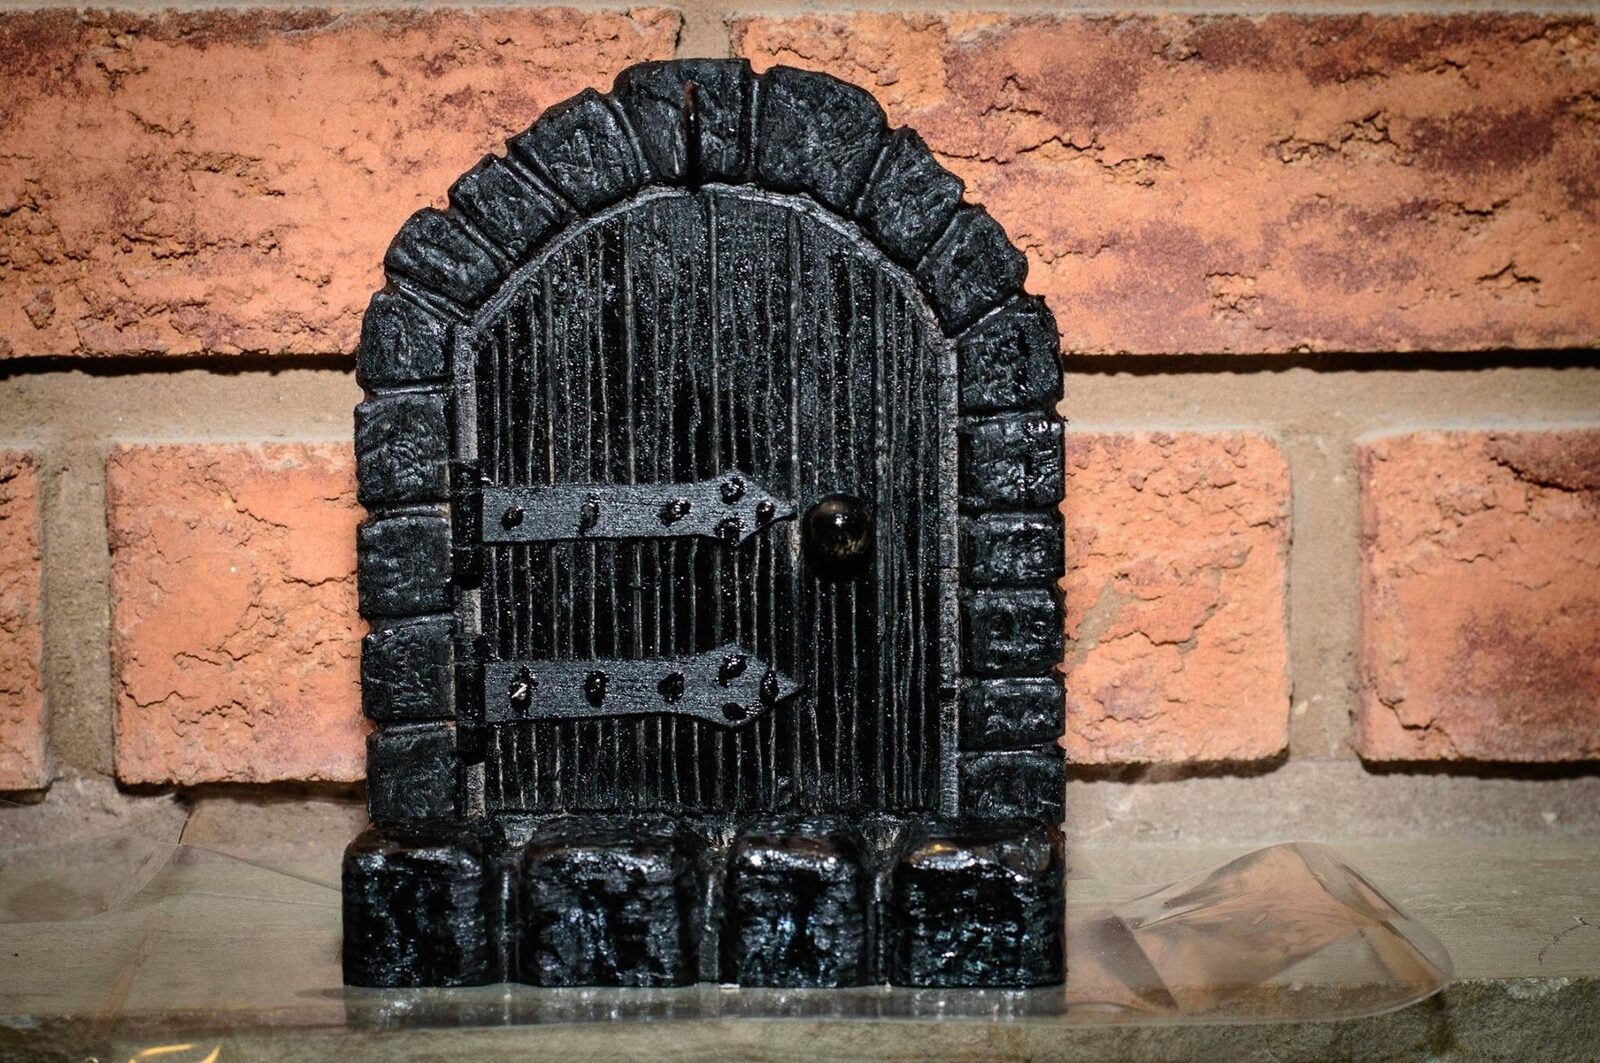
The black primer does most of the work later. Any recess missed by the brush remains a believable shadow instead of raw wood waving at the viewer.
Paint the door and stonework
I used cheap craft acrylics from Michaels. Expensive paint is welcome to attend, but it will not receive a better seat.
Paint the door blue while leaving the grooves dark. Give the stones a medium grey base coat, then run a thin black wash into the joints, cuts, and dents. If the wash makes everything look as though it survived a chimney fire, wipe the raised areas before it dries and carry on.
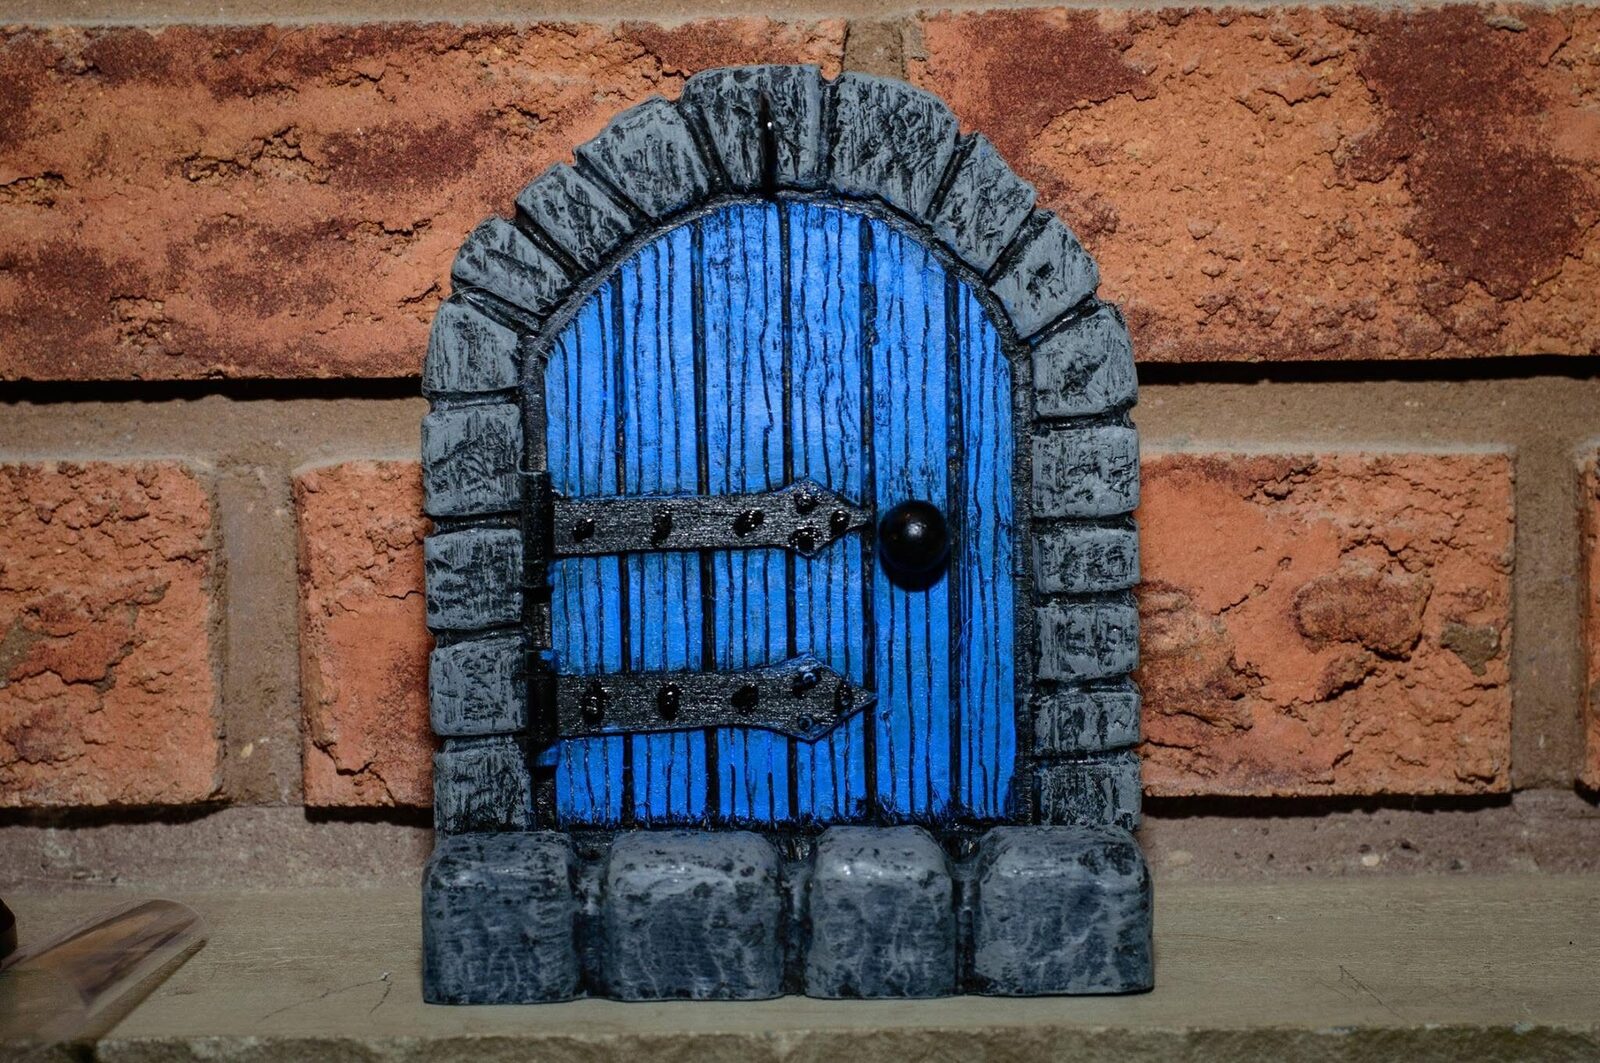
When the wash is dry, drybrush the stone with successively lighter greys. Use very little paint and catch only the raised texture. A lighter blue drybrush does the same job on the wood grain. Finish the hinges, bolt heads, bell hook, and knob in metallic colours, leaving a little black around their edges for definition.
The little faerie came from Michaels. She is not structurally necessary, but she does establish scale and gives the finished photograph someone to blame.
A note from the threshold: Fairies have a long and complicated life in European folklore, but the little wooden door is not some unchanged ancient custom. Miniature fairies became especially familiar through Victorian art, while today’s doors are closer to craft, imaginative play, and public art. The best-known modern trail began with tiny doors in an Ann Arbor home in 1993; the first public one appeared there in 2005. The idea works because a door marks a boundary: put a tiny one against a wall or tree and the solid surface suddenly suggests another inhabited world just out of sight. People leave notes, wishes, or small gifts nearby. Whether anything answers is between you and the local planning authority. The Huntington discusses the changing image of miniature fairies , and NPR reported on Ann Arbor’s public fairy doors .