
Workshop log · Woodworking
Building a Welcome Sign With a Hanging Plant Holder
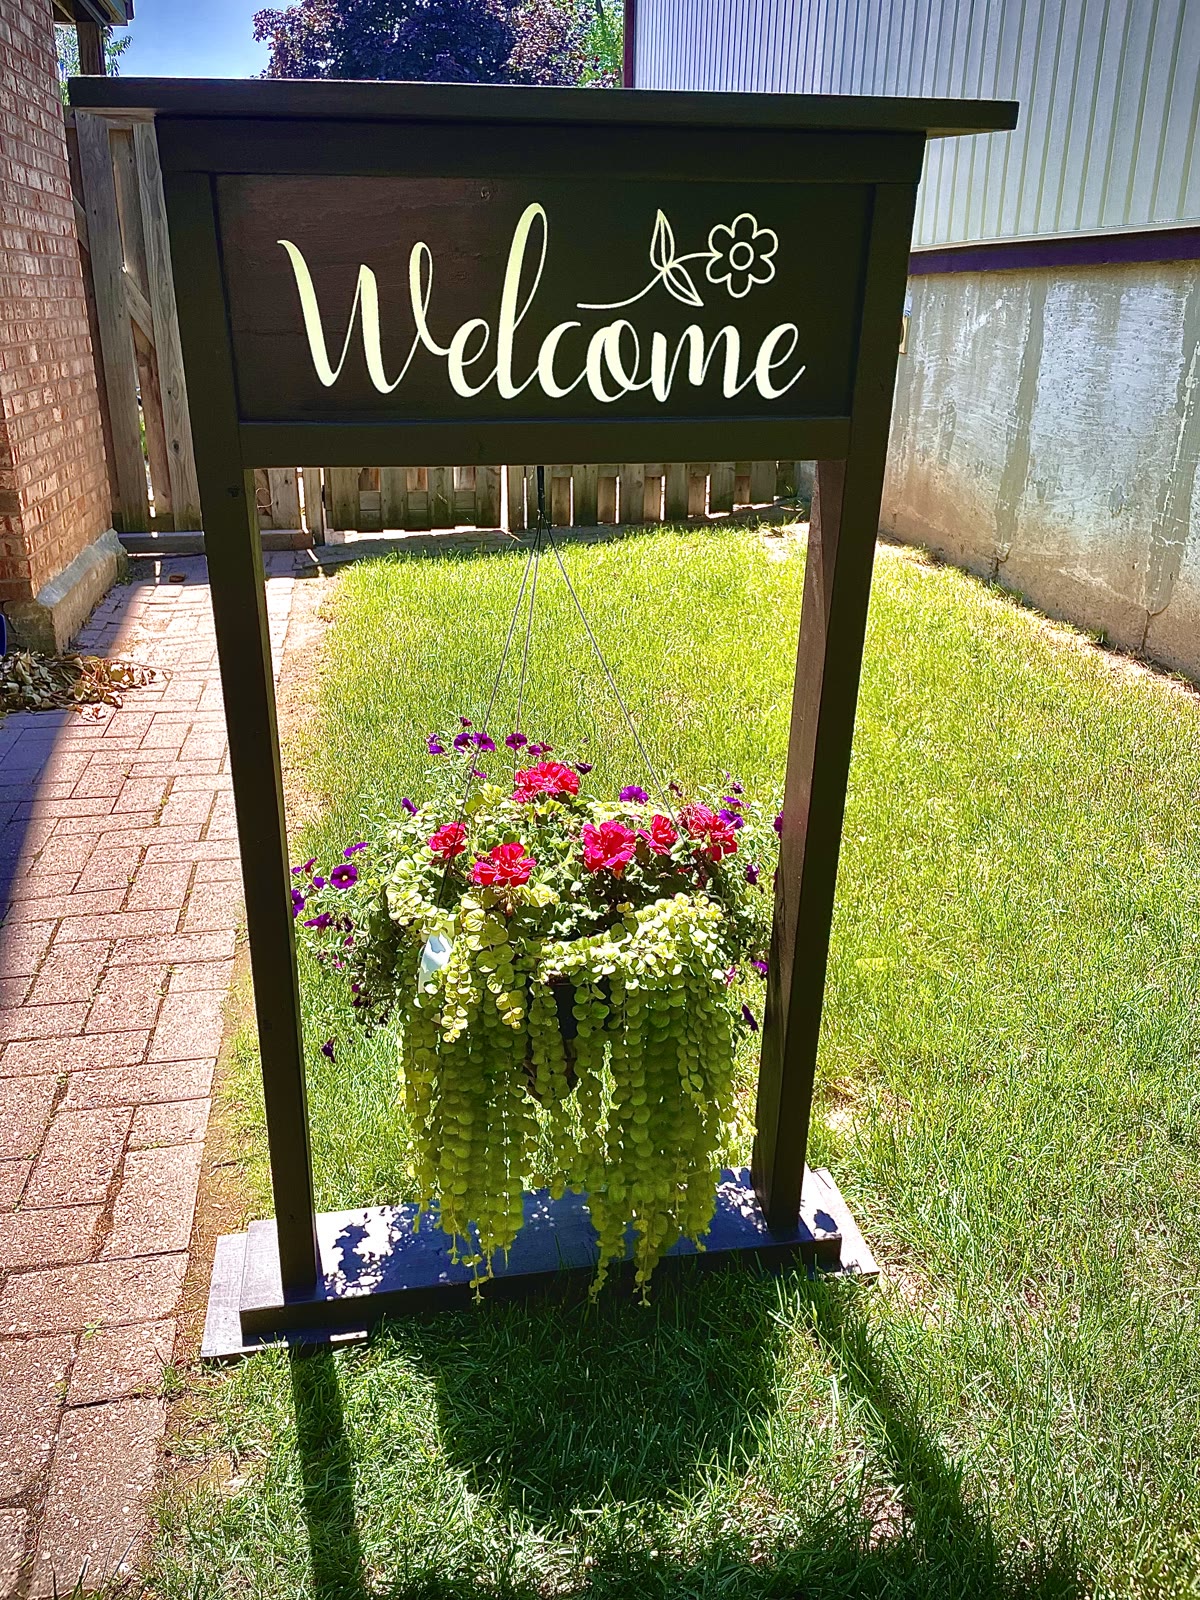
I get into trouble all the time. Someone shows me a picture of something and I respond with, “I could make that.” So when I was shown a welcome sign with a hanging plant holder built into the frame, I figured I’d better prove it.
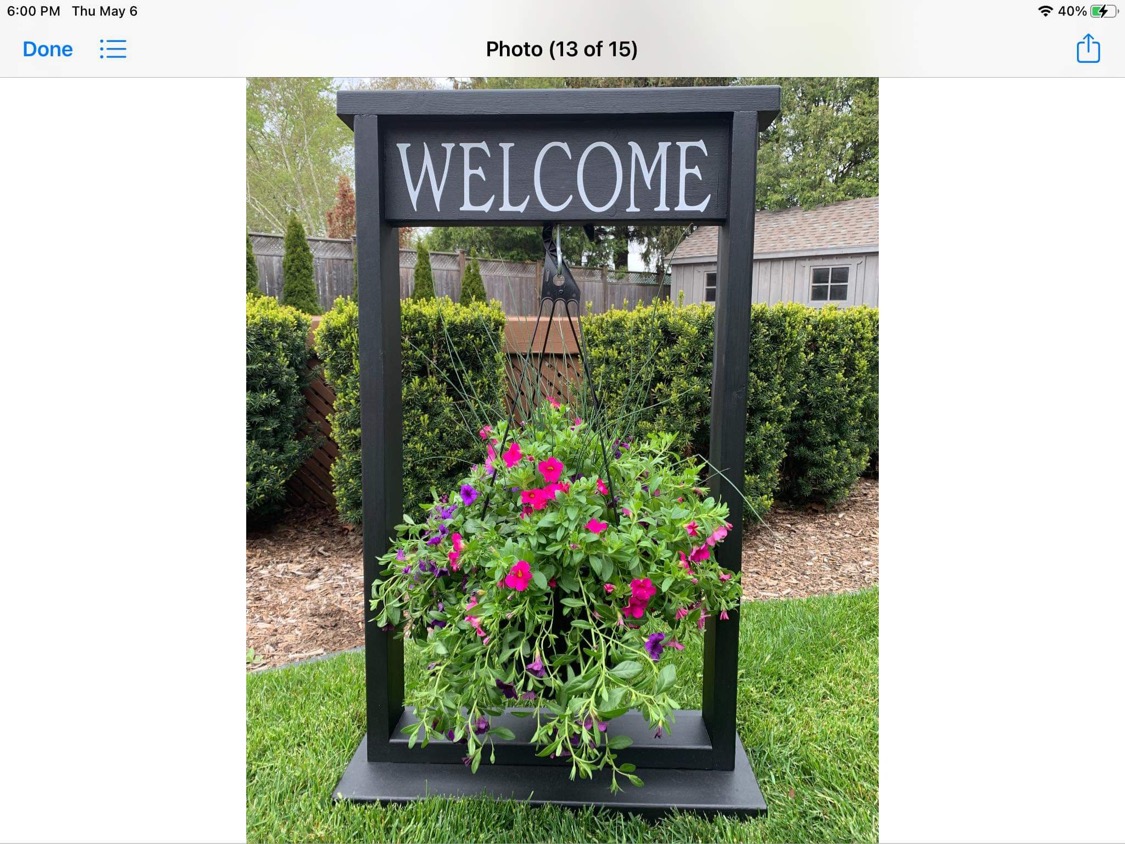
That photograph was all I had to go on: no plans, no dimensions, just a shape to aim for. I built it the way I build most things: buy some lumber, wing it, and let the materials tell me what the final size should be.
Materials and tools
- Dimensional lumber: 2×4s, plus 1×8 and 1×6 boards for the sign panel, shelf and base
- Exterior-rated wood glue
- Clamps and a square
- Kreg pocket-hole jig, exterior screws and matching wood plugs
- Mitre or chop saw
- Drill and impact driver
- Sandpaper
- Exterior paint or stain and a compatible clear coat
- Cricut, transfer tape and outdoor vinyl for the lettering
- Hanging basket and suitable hook or hanger
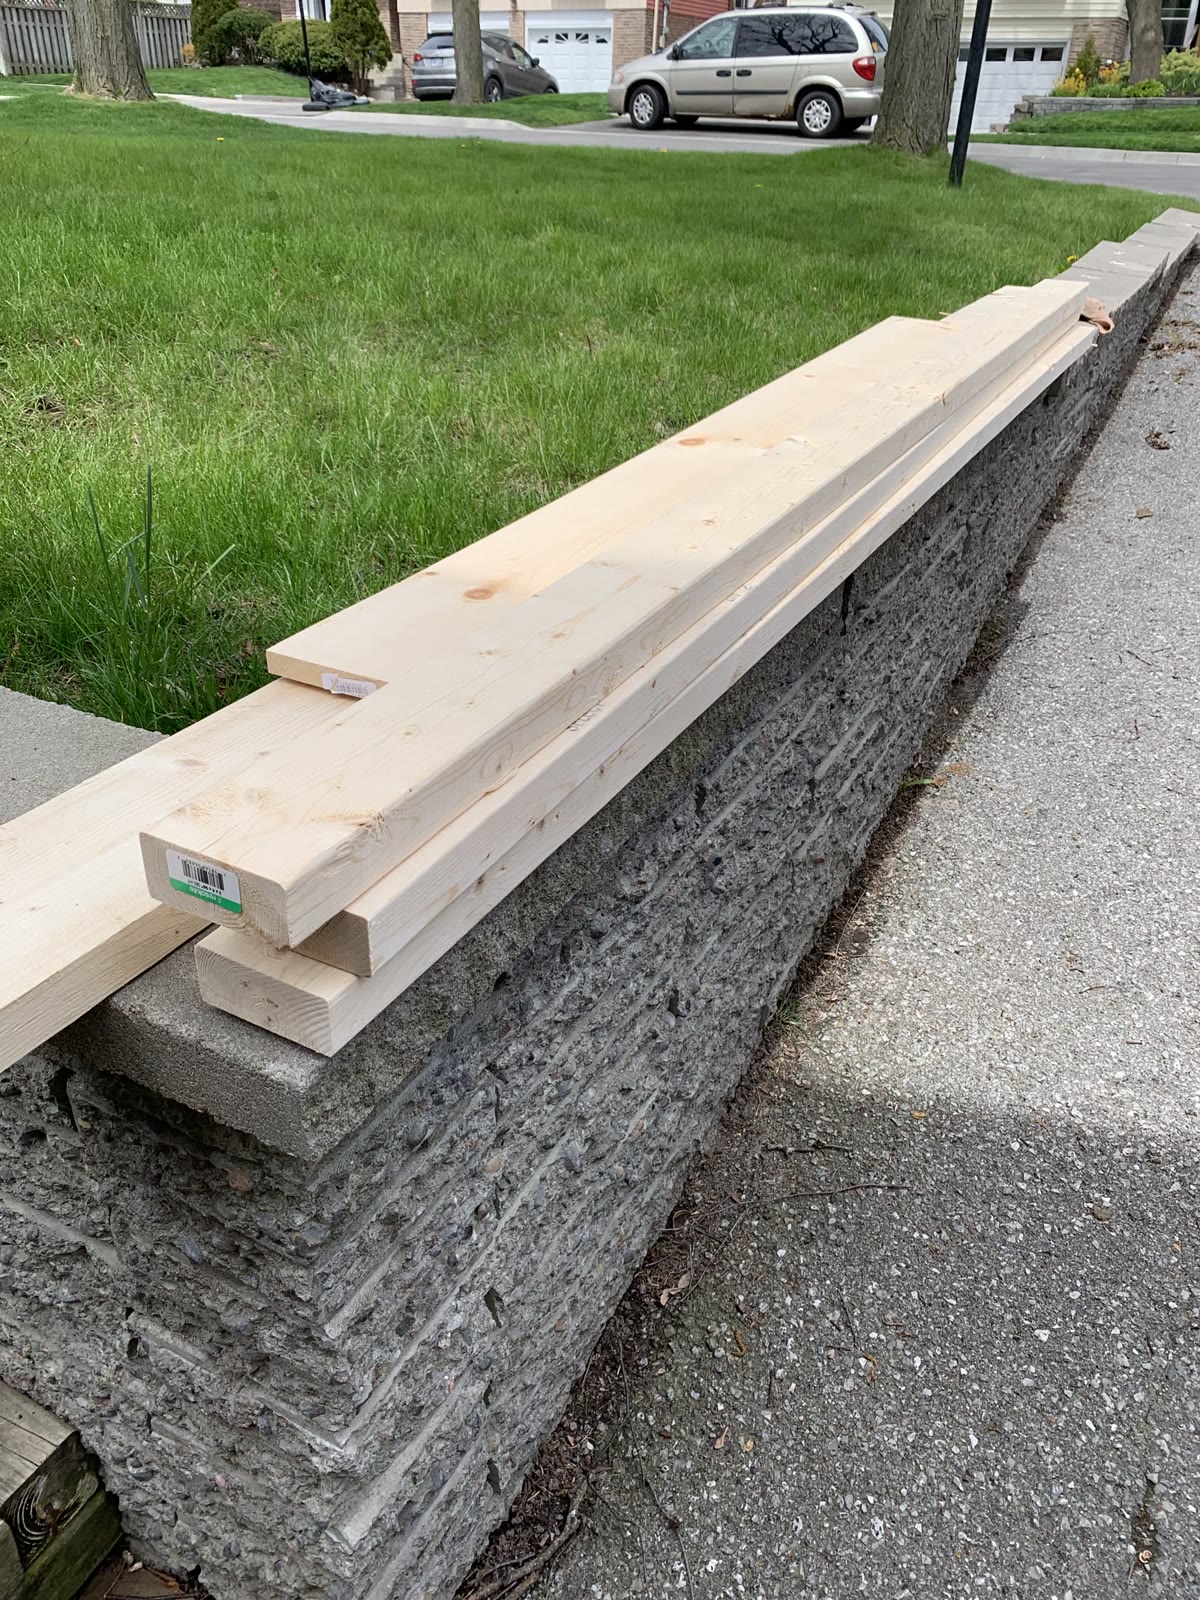
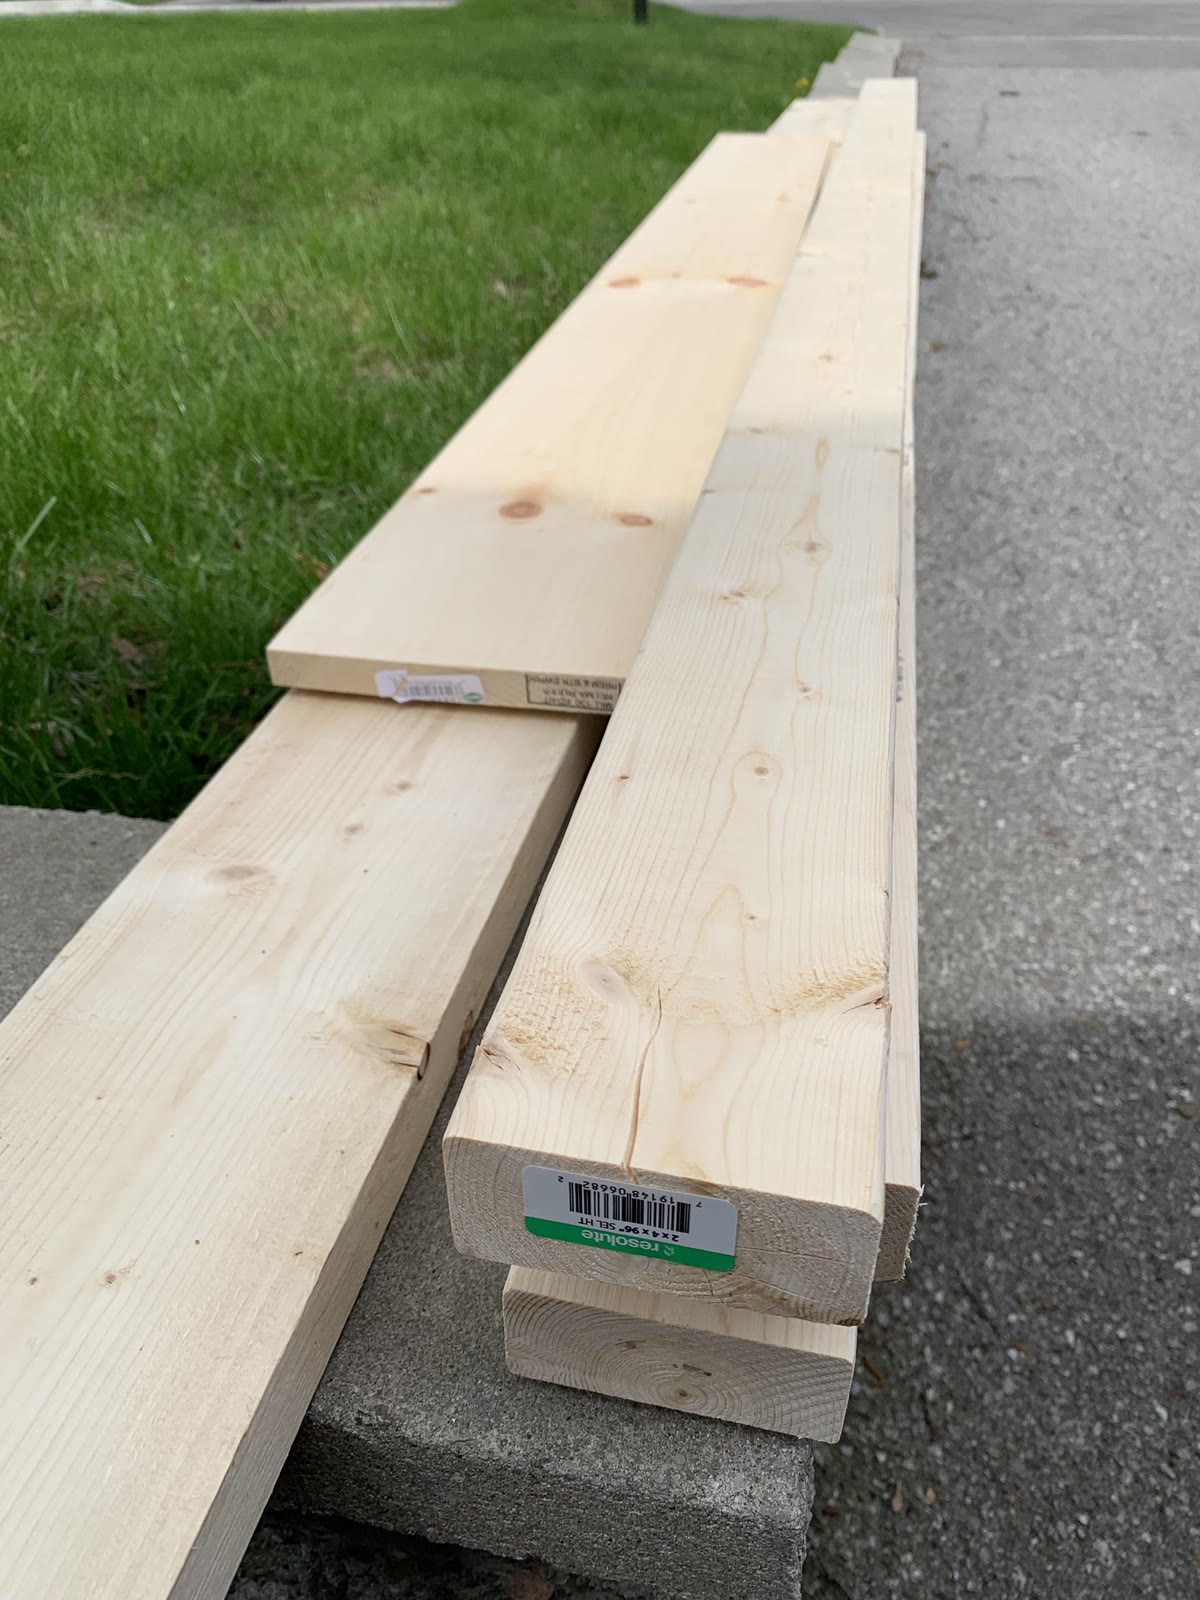
Cheap construction lumber does the job here; you don’t need anything fancy. Pick the straightest pieces you can find and leave anything shaped like a hockey stick for somebody building a hockey stick.
A “2×4” is not actually 2 inches by 4 inches once it has been milled and dried. It is closer to 1½ × 3½ inches. Rather than perform a small engineering thesis to account for that everywhere, I worried about the cut lengths and let the actual board widths determine the rest. It works as long as you measure the material in front of you and stay consistent.
The approximate cut list
I didn’t work from a formal plan. I dry-fitted pieces, sized things by eye and let the sign panel dictate the overall proportions. Everything else grew around it.
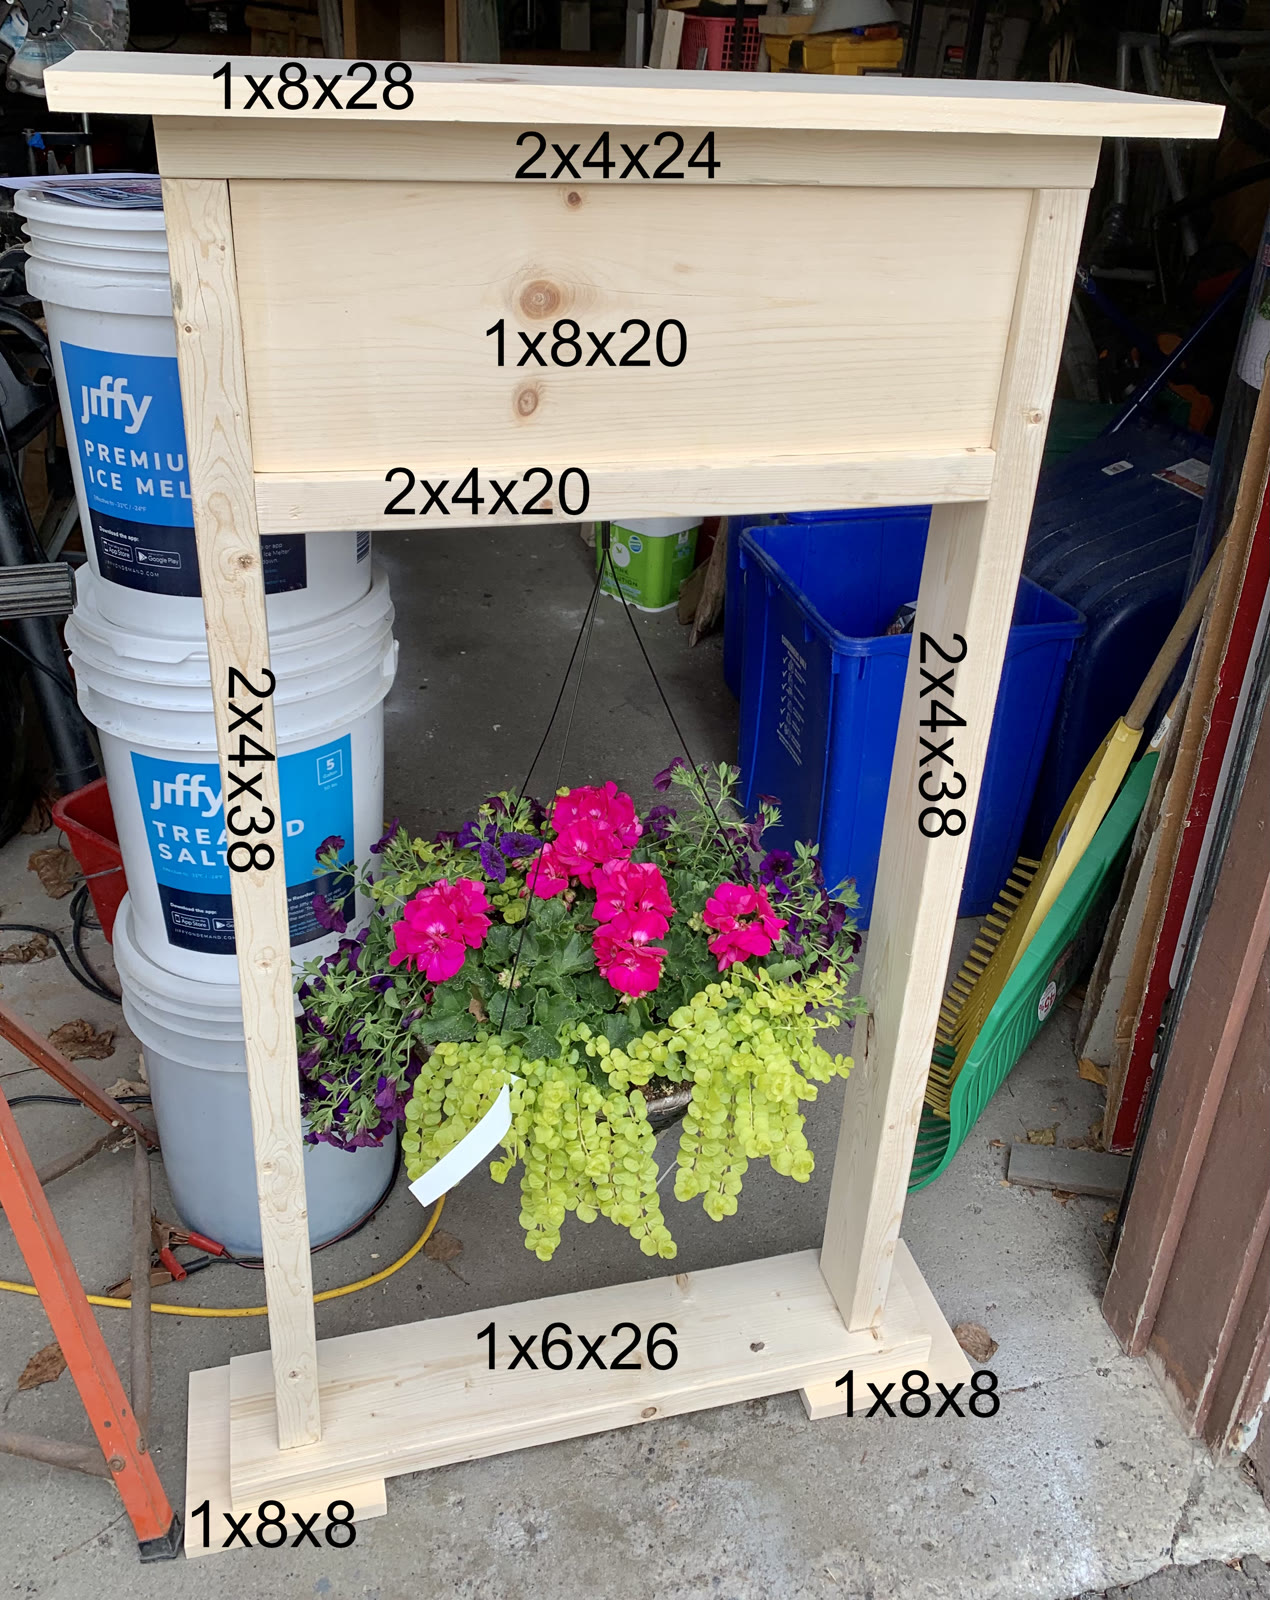
Here is roughly what I ended up with:
- Top cap: 1×8, 28 inches long
- Header behind the sign: 2×4, 24 inches long
- Sign panel: 1×8, 20 inches long
- Lower rail: 2×4, 20 inches long
- Legs: 2×4, 38 inches long, two required
- Base: 1×6, 26 inches long
- Feet: 1×8, 8 inches long, two required
Treat those dimensions as a useful starting point, not a sacred text. Adjust the legs for the height you want, then check the width and spacing against your actual sign board and hanging basket before cutting everything.
Cut, dry-fit and mark everything
Cut the paired parts together where practical so the two legs and two feet actually match. Lay the frame out on a flat surface and dry-fit the top cap, header, sign panel, lower rail, legs and base.
Check the assembly for square by measuring both diagonals. If they match, the frame is square. If they do not, nudge the corners until they do. This is much easier before glue becomes involved and starts making executive decisions.
Mark the back or hidden face of each part along with its position. Also mark every pocket-hole location before taking the dry fit apart.
Assemble the lower frame
The lower section surrounds the hanging basket like a large, narrow picture frame. Assemble its four sides on a flat surface and clamp it square before driving screws.
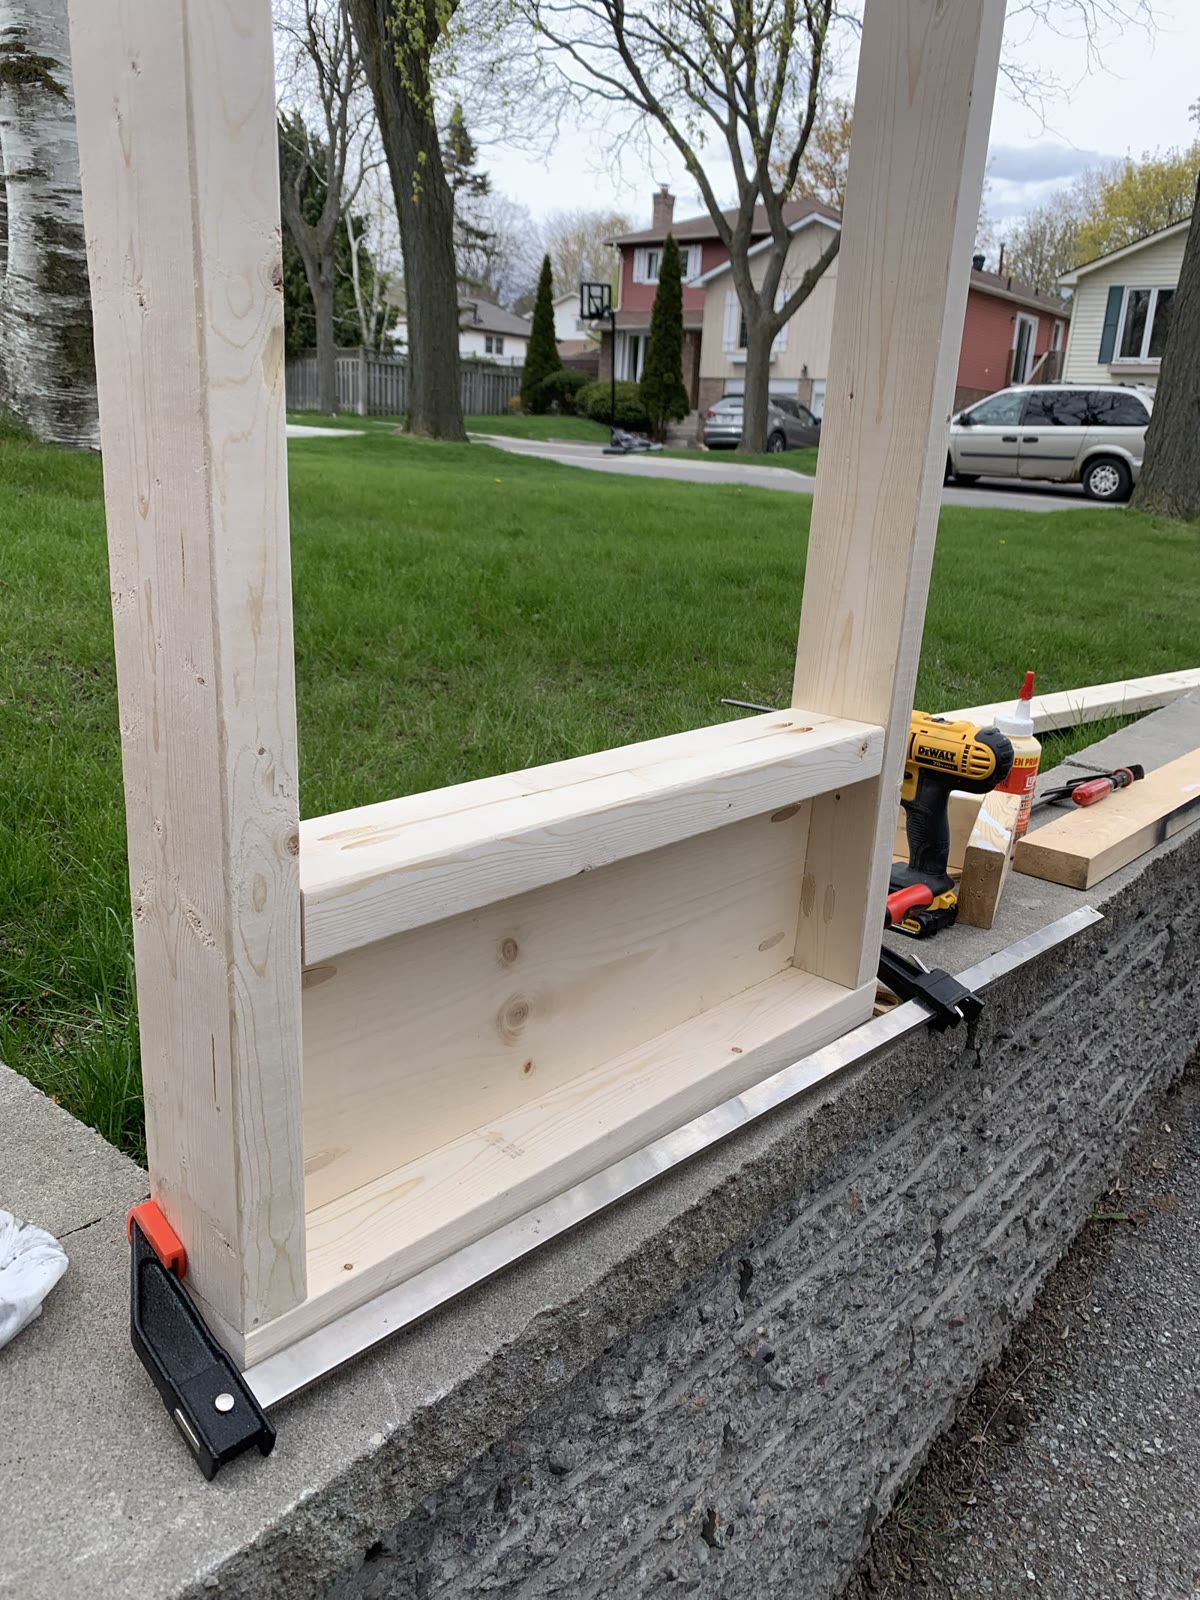
Apply exterior-rated wood glue to each mating surface, clamp the joint, confirm it is square, and then add the screws. The glue provides the broad bond between the boards; the screws reinforce the joint and keep it from wandering while the glue cures.
Do not hang the finished basket from a decorative trim piece or the vinyl-covered sign panel. Put its hook into a structural rail and use hardware rated for the combined weight of the basket, wet soil and water. Flowers become surprisingly committed to gravity after a good rain.
Hide the screws with pocket holes
I used a Kreg pocket-hole jig wherever visible screw heads would spoil the show faces: the legs into the top and base, the rail into the legs, and the frame joints.
Set the jig and stop collar for the actual thickness of the material, not the optimistic name printed on the lumber rack. Drill the pockets on the back or underside, apply glue, clamp the joint and drive exterior-rated pocket screws without overtightening them.
Once the assembly is solid, glue matching wood plugs into the pockets. Trim them close after the glue dries, then sand them flush. The screws disappear and the front remains pleasantly free of hardware acne.
Build outward from the sign
With the lower frame assembled, add the legs, lower rail, header and top cap. Keep checking three things as you go:
- the legs remain parallel;
- each horizontal part remains level and square to the legs;
- the sign panel fits without being forced.
Dry-fit every part before gluing it. This is where letting the material guide the final dimensions pays off: if a gap looks wrong or the top feels too wide, you can correct it before the project becomes a very sturdy mistake.
Sand the completed frame, ease sharp corners and remove glue squeeze-out. Paint will not hide dried glue; it will merely frame it for public viewing.
Paint and protect it
I chose a dark painted finish so the white lettering would stand out, but an exterior stain would work just as well. Prime bare wood if your paint system calls for it, then coat every face, edge and end grain. End grain is particularly eager to drink water.
Once the colour coat is fully dry, add a compatible exterior clear coat. I used a gloss clear coat. Follow the product’s recoat and curing times rather than deciding that “not currently sticky” is a recognised finishing standard.
Design and apply the vinyl lettering
I designed the “Welcome” lettering and flourish in Affinity Designer instead of building it from live text in Cricut Design Space. I converted the lettering to curves and joined the design into a single shape before exporting it. That prevents font substitution or reflow on the Cricut computer and keeps the layout together during cutting and transfer.
You can download the Welcome cutting design used for this project. Check its dimensions in your cutting software and scale it to fit your own sign panel before sending it to the machine.

Cut the design from outdoor vinyl, weed away the unwanted material and apply transfer tape. Position it on the fully cured sign, burnish it firmly, then peel the transfer tape back slowly at a low angle. If the finish is not properly cured, the transfer tape may attempt to take the paint home with it.
Install the hanging hardware, add the basket and the project is done: one welcome sign, one plant stand and one more piece of evidence that “I could make that” is not always an empty threat.
The SketchUp model
After the fact, I built a SketchUp model so I’d have actual dimensions on file for next time, or for anyone who prefers measurements to interpretive carpentry.
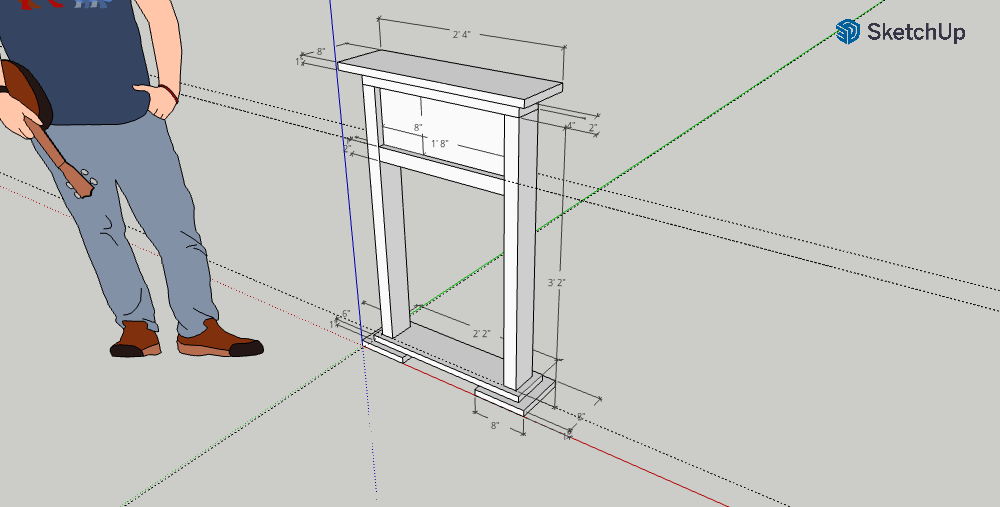
The interactive SketchUp model is available for closer inspection.